- 1. Getting Started
- 2. Finding Your Way Around Instructor Board
- 3. Preparing for Live Class
- 4. Controlling Students Activities
- 5. Inviting Students to Your Class
- 6. Observe, Help and Communicate with Students in Real Time
- 7. Polls, Links and Timed Activities
- 8. Adding a Co-Teacher
- 9. Showcasing a Student’s Board to the Entire Class
- 10. Rewarding Students
- 11. Sharing Your Work with Other Teachers
- 12. Managing Boards for Different Classes
- 13. Downloading Boards as PDF
In this guide we have put together instructions for a teacher to utilize free interactive online Newline Engage Cloud’s tools and features to engage with students effectively.
1. Getting Started #
Create Instructor Board #
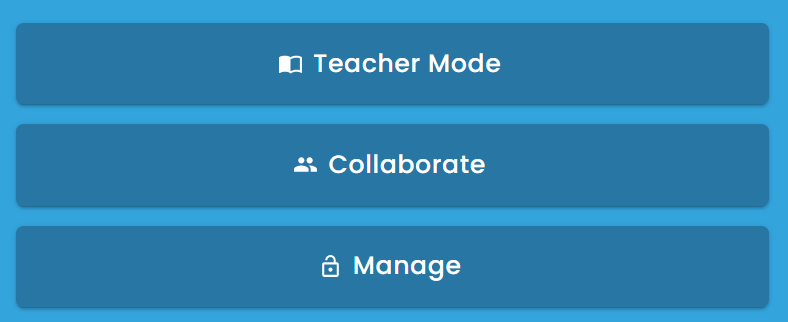
- Point your internet enabled device’s browser to https://www.newline-engage.com/
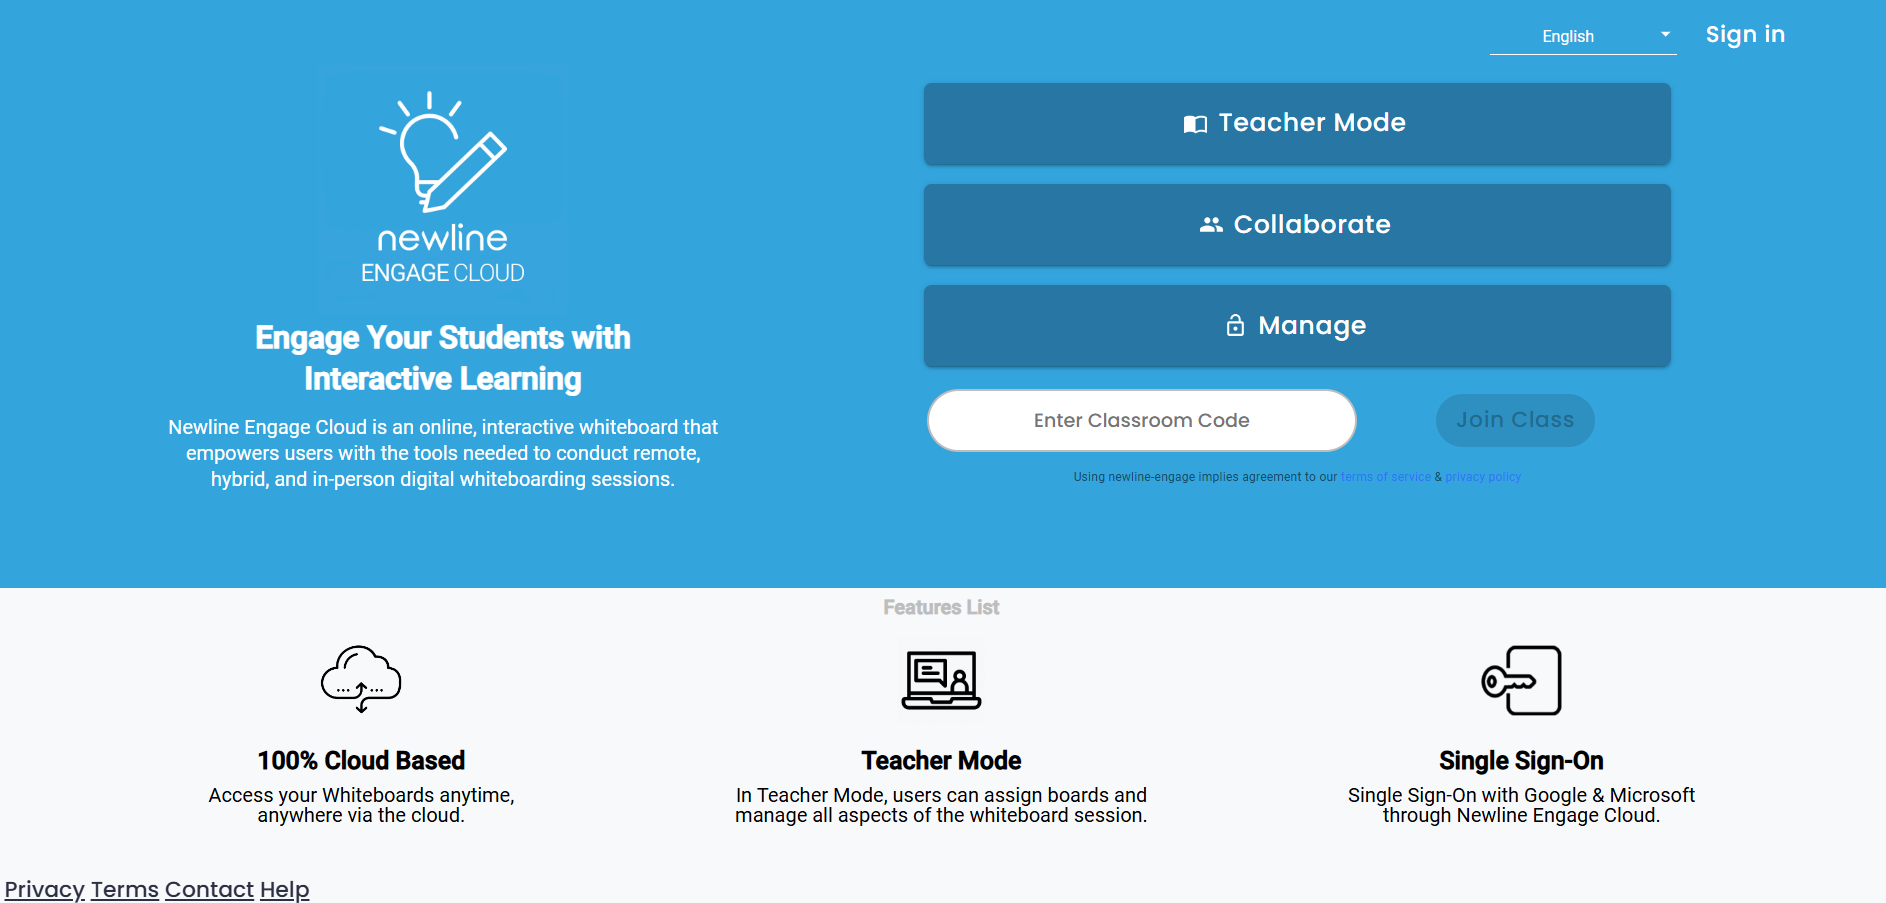
- To create a new board, select either Teacher Mode or Collaborate based on the type of board you need. To access previously created boards, select Manage.
Newline Engage Cloud with Zoom or Other Video Conferencing #
You can use Newline Engage Cloud with Zoom, Google Meet or Microsoft Teams video conferencing
- Launch your Zoom, Meet or Teams video conferencing from your device as normal.
- Open a separate browser window and navigate to Newline Engage Cloud. Once you’re on the Engage webpage, access your board as normal.
- No need to share your screen since all of your students see your work in real time replicated on their boards
- Keep your Zoom, Google Meet and Teams window in the background where your students can see your video and you can see their faces.
- You can continue to teach at your whiteboard browser window.
2. Finding Your Way Around Instructor Board #

Board Controls #
- On the left side of the board, you will find most of your controls.
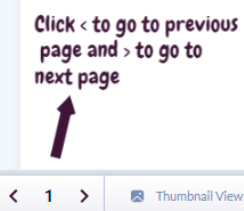
Moving Between Pages #
- Using ‘<’ and ‘>’ on the lower left corner of the board, you can move between pages of your whiteboard.
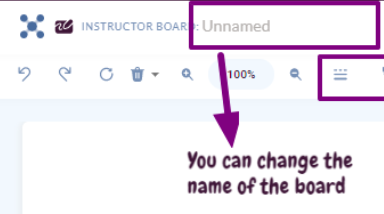
Setting the Name of Instructor Board #
- At the top middle of the board, you can change the name of the board to reflect the class you are teaching.
Class Control Panel #
- Here are the purpose of various controls on the upper right side of the board
- Help: Clicking here will open up a window with link to our help pages, as well as a guided tour of the platform.
- Hand: Students will activate the “Hand” icon on their individual boards. The names of the students needing help will show up here. Clicking on the name will take you directly to the student’s board.
- Timer: Click here to set a timer for a timed activity. The countdown timer will be shown on all student boards.
- Participants Panel: Clicking here will show you the list of students joined to the board, along with a few more student controls discussed below.
- Settings: Clicking here will open up a dialogue for you to sign-up and login. Note that signing up is only required if you wish to save your work for future under “Manage Boards.”
- Invite: Clicking here will open up a dialogue with links and class code, so students can join your class. This is described in detail further below in this document.
Board Color, Text Size, Font, and Highlighter #
- On the top center of the board, you will see a box to change your name, change the size of text and drawing brush and increase/decrease the opacity of the brush so you can use it as a highlighter. This will only appear if the pen tool is selected.
Student View Controls #
- In the middle lower of the board, you will find Grid View that can take you to a screen where you can see up to 25 students boards at the same time.
Take a look at our Navigation Guide to Tools and Features of Newline Engage Cloud guide.
3. Preparing for Live Class #
- Change the Name of the Board: It is advisable to change the name of your Instructor Board to reflect the class you are teaching. This will help if you wish to save your boards for future use.
- Upload Teaching Material: Next, you can upload teaching material such as slides, worksheets, or other materials that you wish to discuss with the class. Note that Newline Engage Cloud allows up to 40 pages of PDF files and images to be uploaded. To upload your teaching materials:
-
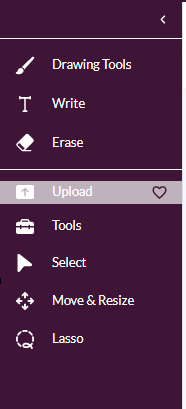
- Open the left side panel.
- Select Upload File.
- Select the files to be uploaded from your computer or directly from your Google Drive.
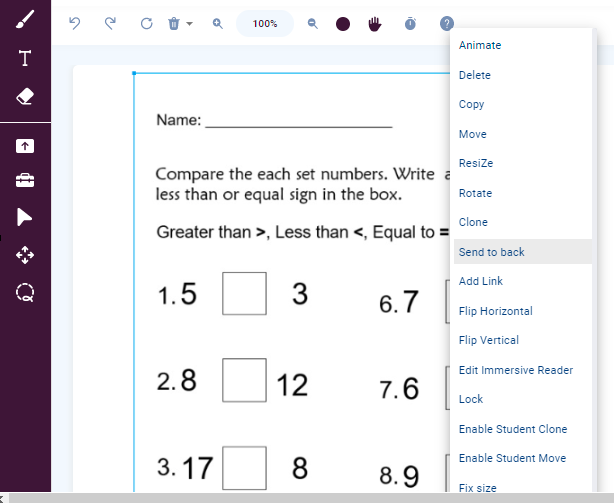
- Send your PDF or other teaching material to the back to allow for annotation. You can do this by:
-
- Select the PDF or image by clicking on Select from left side panel and then clicking on the PDF/Image
- Select Set Background
- Each page of your uploaded file will automatically add pages to your whiteboard, which you can browse through using ‘<’ and ‘> at the lower left corner of the board.
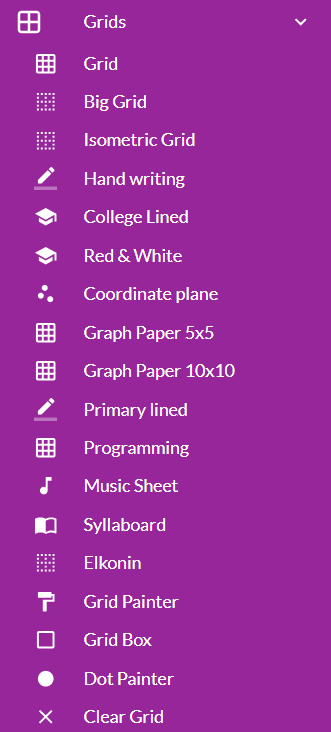
- Set the Background Grid: Depending on what you are teaching, you may wish to also change the grid of the board. You can change the grid by selecting “
 ” in the top right corner of the board, then choosing the Grids drop down. You will have the following options:
- Now, you are ready to use the rest of Engage Cloud’s tools to create a lesson for your students!
Take a look at our FAQ on Preparing for a Live Class in Newline Engage Cloud.
4. Controlling Students Activities #
Before you invite students to your board, you have the following options to customize what your students can do through Newline Engage Cloud:
Change Settings for your Board #
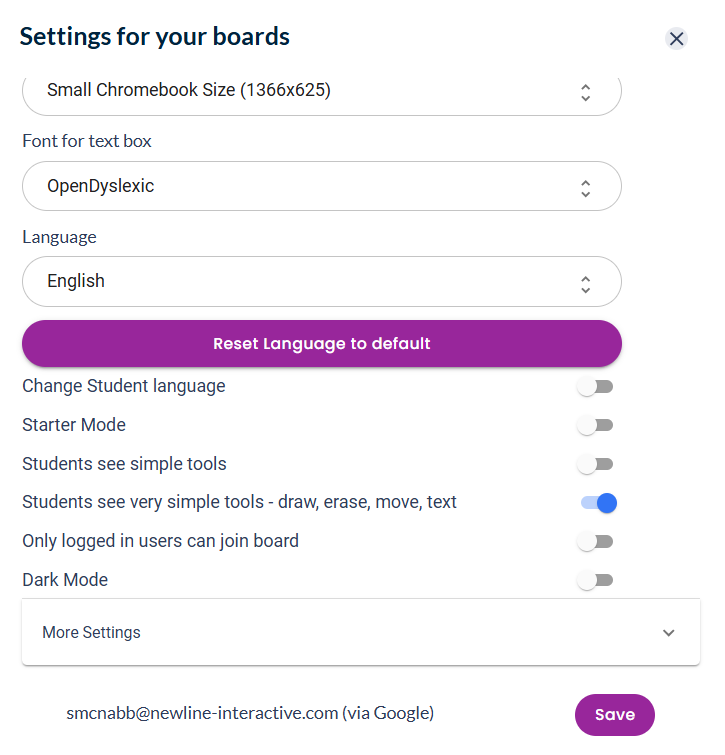
- Mandatory login: You may want to ensure that only students who have created their accounts at Newline Engage Cloud can join the class.
- Prevent students from writing on each other’s boards: By selecting this option, you can prevent students from drawing or writing on other students’ boards.
Both of the above controls are available by clicking on the Settings icon at the upper right corner of the board. It will open up the dialogue shown below where you can select the above options. To find the setting for preventing students from writing on other boards, select “More Settings.”
Make Students Follow Teacher #
- Enforce that Students Follow Teachers as a teacher move to a different page of their board. This option will ensure that students are on the same page of the board as the teacher. To enable this feature:
-
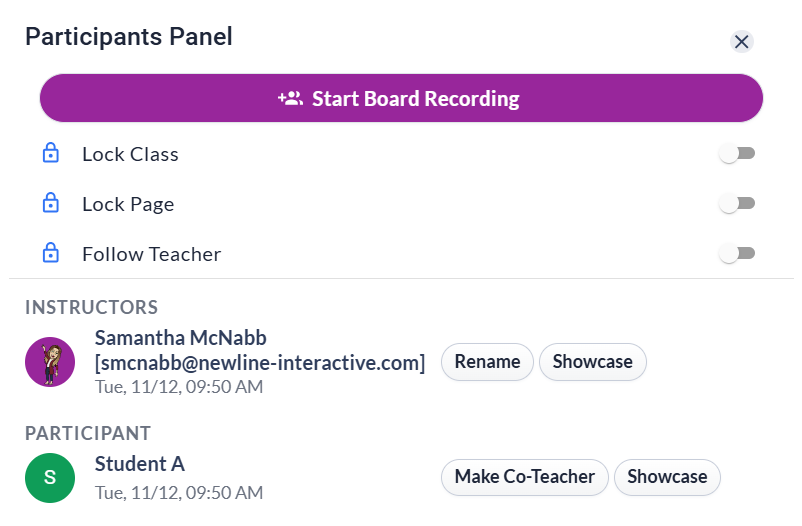
- Select the Participants Panel, then toggle on Follow Teacher.
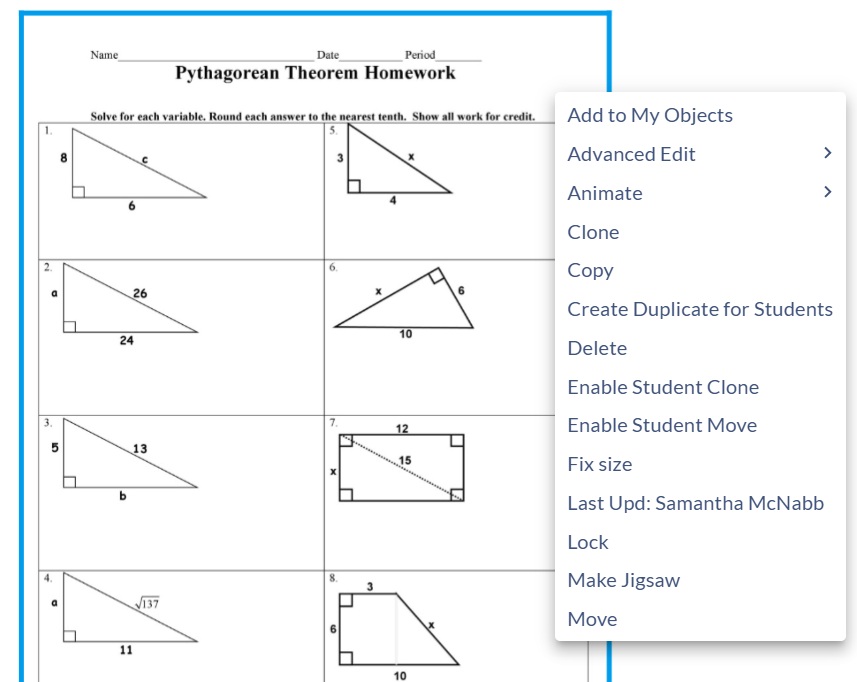
Lock Objects #
- Locking Objects, so no one can accidentally erase it. You can lock certain objects by right clicking, then choosing Lock.
Locking/Unlocking Students’ Boards #
- Locking the entire class – You may want to lock the entire class from doing anything on their respective boards until you ask them to do so. This is to prevent students from starting working before you have had a chance to prepare the board, upload your worksheets, or teach your lesson.
You can enable this feature by selecting the Participants Panel from the upper right corner. Then, toggle Lock Class to on.
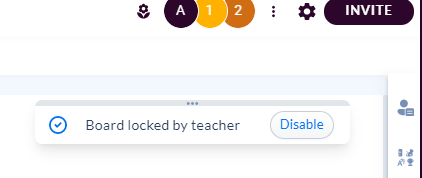
Once locked, all student and teacher boards will show the below notification:
The Teacher can unlock boards by:
- Selecting the Participants Panel, and selecting Unlock Class.
- Click “Disable” next to “Board locked by teacher.”
5. Inviting Students to Your Class #
To invite students to join your class, click on “Invite” on the upper right corner, which will open up a dialogue shown below. You will have the following options for students to join:
- Students can scan the QR code at the top to join the board on their device.
- You can copy the board’s URL and paste it in: your LMS, Google Classroom, a videoconference chat, Microsoft Teams chat, or any other communication channel that you use to speak with students.
- You can also copy the Class Code and paste it at any of the above communication channels.
- You can share the link directly to Google Classroom or Microsoft Teams.
- You can copy the co-teacher invite and share it with another teacher to provide them with “instructor” permissions on the board.

Note: To invite students, always click on the Invite and use the link or class code as described above. Do not use the URL from your browser’s site URL!
6. Observe, Help and Communicate with Students in Real Time #
Get a Birds-Eye View of Students Boards #
- The Teacher can use the Grid View, accessible from the middle bottom of the board, to see a birds-eye view of up to 25 student boards at a time. In Grid View, teachers are able to see what students are working on in real time.
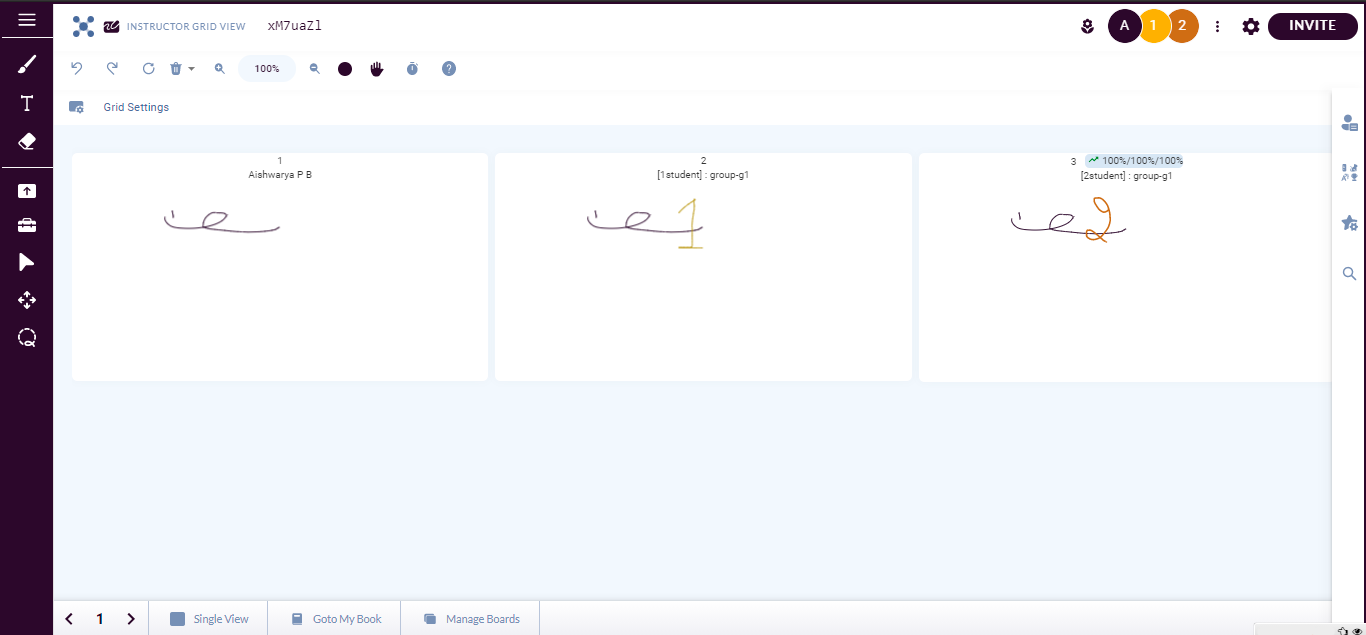
- Clicking on any board will expand the board and provide more options.
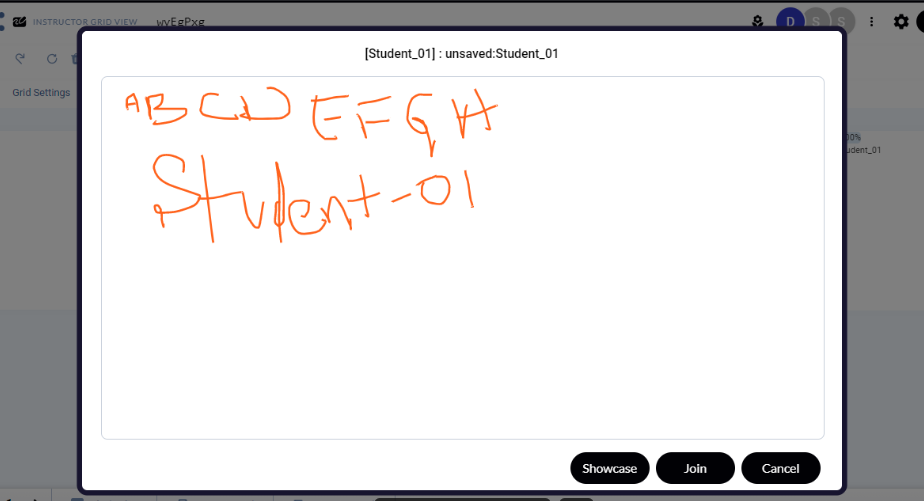
Join Student’s Board #
- Clicking on Join will allow the teacher to join the student’s board, where they can provide real time feedback to students on assignments!
- After providing their feedback, clicking on Go to Instructor will take the teacher back to their own board to continue teaching.
Moving Between Grids of Students’ Boards #
- From the Grid View, clicking on ‘<’ and ‘>’ at the lower left corner will show the next group of student boards.
Notification of Student Needing Help #
- At any given time, a student may use the Raise Hand feature to ask for the teacher’s help. The teacher will see the following on their board.

7. Polls, Links and Timed Activities #
- You can create custom polls for students to use as exit tickets or to gauge prior knowledge! View the format and steps for creating a poll below:
-
- To create a new poll:
- Select the “” next to the Participants Panel.
- Then, select Poll.
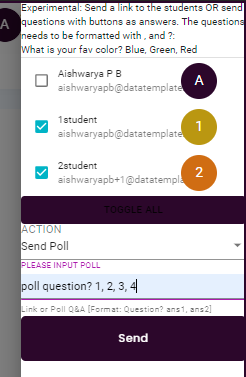
- Type in your question and answers as shown below.
- Select the “
- Your poll question must be written as follows: “Question” ? “answer 1”, “answer 2”, “answer 3”
- Note: The question must be followed by a “?”, and each possible answer must be separated by a comma “,”.
- To create a new poll:
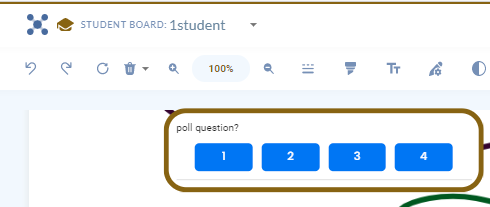
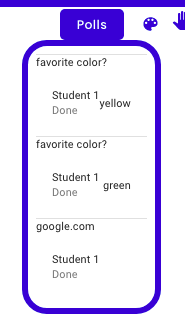
- The poll will show up on the student’s board as seen below:
- Each student’s answer will appear to the teacher as seen below:

- Similarly, the teacher can send a link to external material, such as a video or a website, to students. They will also get a notification for each student that has opened that link.

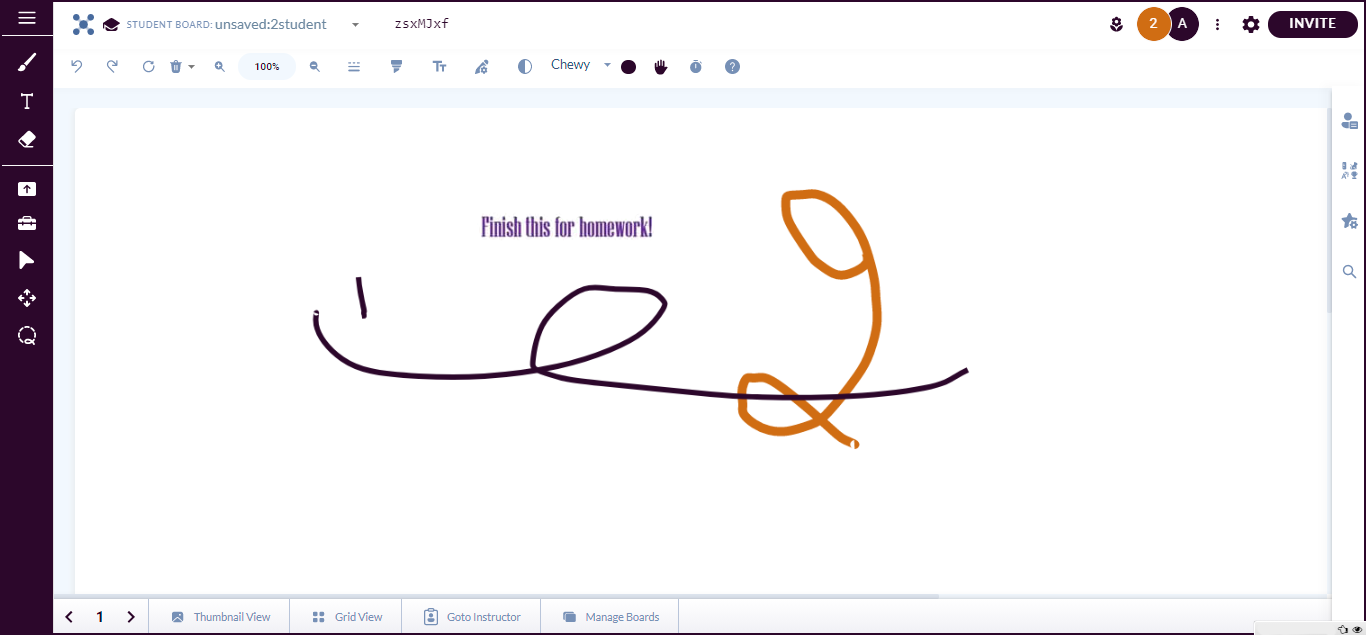
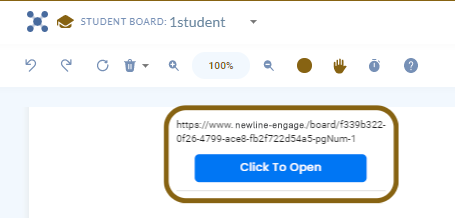
- The link will appear on the student’s board as shown below:
- Once clicked, the teacher will get a notification that a student has opened the link, as shown below:
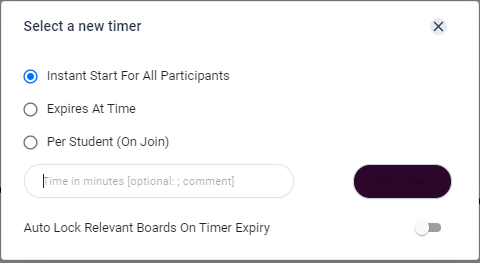
- If a teacher wishes to give a time bound activity that students must finish within a stipulated time, then they can use the Timer functionality. Clicking on the Timer icon from the upper right corner will open a dialogue where the teacher can choose the type of timer they’d like, as well as specify the time in minutes.
- The timer will appear on all boards, as seen below:

8. Adding a Co-Teacher #
- If your co-teacher has already joined your class as a student, you can easily make them a class co-teacher!
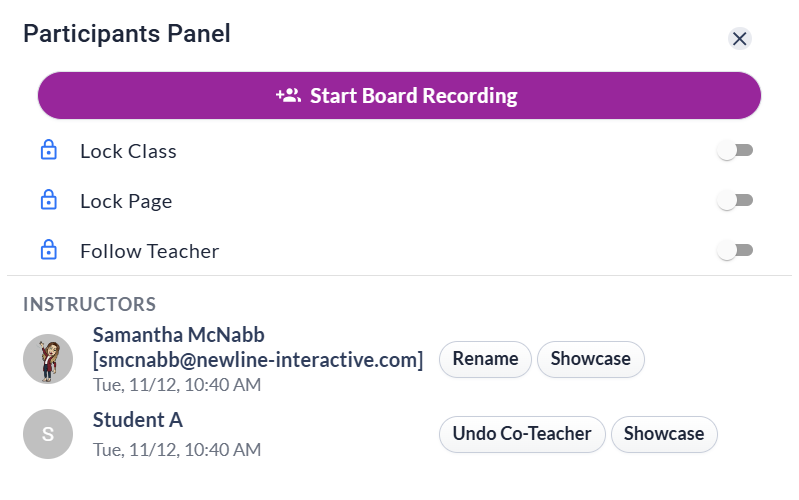
- Click on the participants panel. Then, select the participant you wish to make a co-teacher by selecting “Make Co-Teacher” next to their name.
- Now, the co-teacher will have similar controls available to them to co-teach the class.
- To undo making someone a co-teacher, select the participants panel and click “Undo Co-Teacher.”
9. Showcasing a Student’s Board to the Entire Class #
- Click on the Participants Panel, and select Showcase next to the participant whose work you wish to share with the rest of the class.
- Now, all students will be able to see the board of the student whose work is being showcased.
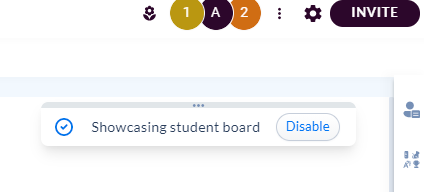
- The instructor can cancel the sharing of student’s board by clicking “Disable” next to the message shown below.
10. Rewarding Students #
- Click on the Gizmos symbol from the right side toolbar to open the window below. Select the dropdown menu -> Stickers -> Reward.

- You can now select the reward and place it on the board for your student.
11. Sharing Your Work with Other Teachers #
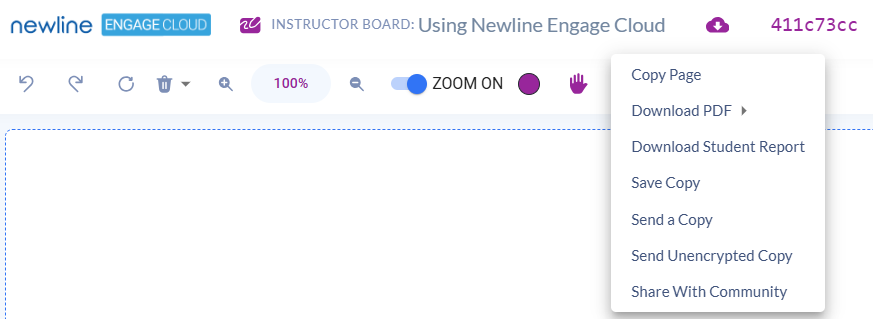
Send a Copy of your Board #
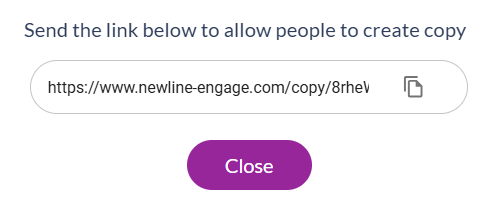
- Select Download and Share (cloud) from the top of your board. Then, select “Send a Copy.”
- This will open up a dialogue box for you to copy the link and share with your colleagues via email or other communication channel.
Copying Pages #
- Copy Page will replicate the current page to the next one. (Note: for this feature to work, your next page must not have been visited or clicked on.)
12. Managing Boards for Different Classes #
Saving a Copy of your Board #
- Select Save a Copy from the Download and Share icon.

- Enter a name for the copy of your board, then click Save.
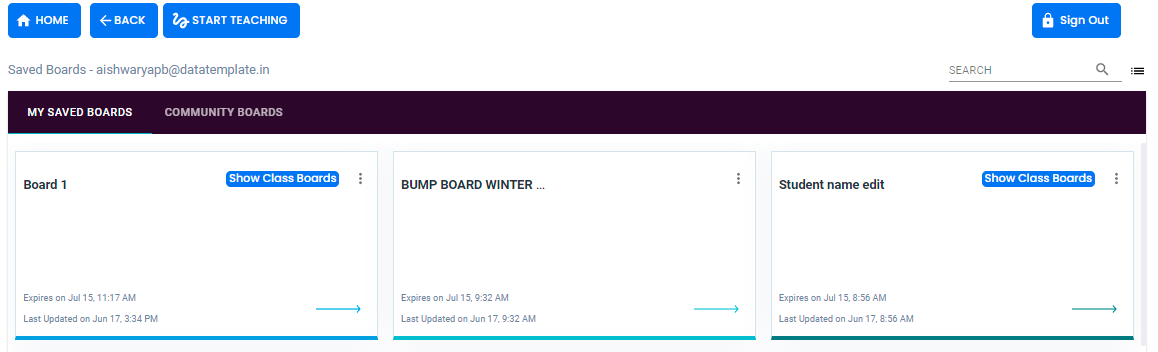
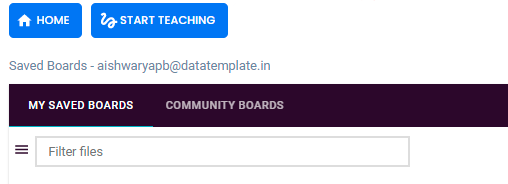
- You should be able to see your boards in a tile view, similar to the one below.
Launching a Pre-Created Board for Class #
- Now, when you are ready to teach say your Math Class at 1 pm, select “Manage” from the home page of Newline Engage Cloud.
- It will take you to a tile view of your “Manage Boards” section.
- Once you find the board you’d like to use, you can select the arrow underneath the board’s title to begin teaching.
Managing Students’ Boards #
- A teacher can also manage their class boards. When you are viewing the “Manage Boards” page, the teacher will be able to see the board of any student’s joined to that class.

- Clicking on Show Class Boards will show students boards as shown below.

Managing Boards using List View #
- The Manage Boards page also has a list view. You can click on the “hamburger” menu next to search to change your view.
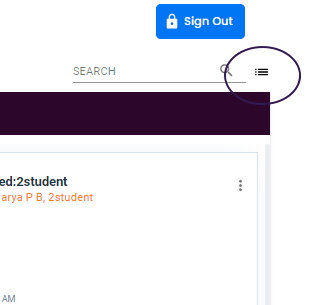
- Once switched, your Manage Boards page will look like the below:

List view has five columns:
- Name – By clicking here, you can directly change the name of the board.
- Participants – This column will show the participants joined to that board when expanded.
- Last Updated
- Expires – This column will show the board’s expiration date. Note: Boards to not expire by default. If you see an expiration date, simply click the “Refresh” icon to remove the listed expiration date.
- Actions – Here you can join the board by clicking on the View, or you can Delete the board by clicking on the trash icon.
The list view of student boards can be seen below. Clicking on ‘-’ or ‘+’ signs will expand and show the students boards. Click on the eye icon to view a given student’s board.

13. Downloading Boards as PDF #
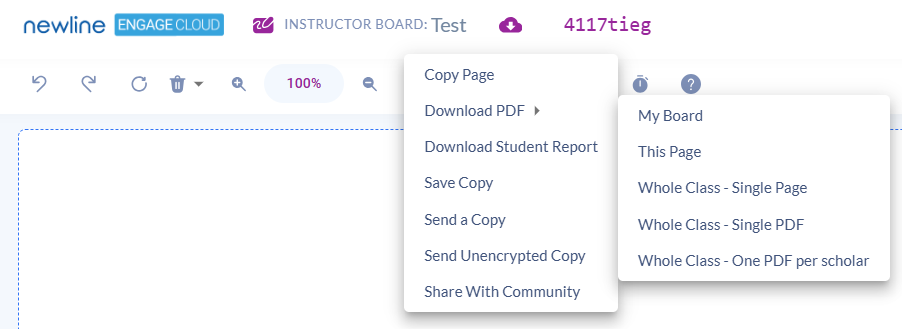
- Click on the Download & Share icon (cloud) from the top toolbar.
- Then, select “Download PDF.”
- You will have several download options:
- My Board – Only my teacher board. This is great for sharing class notes with students via your LMS!
- This Page – Only this page. This is great if you have a specific piece of the lesson you’d like to share with students.
- Whole Class – Single Page – Download a single page from each student’s board into one PDF. For example, you could download every student’s page 5 if that’s what page the assignment was on.
- Whole Class – Single PDF – Download every page of each student’s board into one large PDF. You can choose to download all pages of your lesson or a range of pages.
- Whole Class – One PDF Per Scholar – Download each student’s board as an individual PDF. You can choose to download all pages of your lesson or a range of pages. This is a great tool if you need copies of student work to share!
- The board(s) will be downloaded to your computer’s “Downloads” folder.
Take a look at our FAQs on How to Teach a Live Class, and FAQs on How to Manage Boards After Class.


